How to Use Wigglypaint? Top 10 Questions for Beginners
Introduction
Wigglypaint is an innovative online drawing tool known for its unique "wiggly lines" effect and rich sound effects. This article answers the ten most common questions new users encounter, helping you quickly master Wigglypaint's various features. From basic brush usage to advanced export techniques, make your digital art creation journey smoother.
This article covers:
- Brush types and effects introduction
- Detailed explanation of function buttons
- File saving and export techniques
Q1: What interesting brushes does Wigglypaint have?
Wigglypaint offers 8 unique brushes, each carefully designed with different thickness, effects, and vibrant colors to enhance your Wigglypaint creations. When using Wigglypaint, every stroke produces unique sound effects, and the lines you draw will wiggle vibrantly, giving your Wigglypaint artwork a dynamic, lively quality.
- Pen - Finer lines
- Ballpoint pen - Precise line drawing
- Dip pen - Artistic brush strokes
- Pencil - Natural sketching effect
- Spray gun - Gradient and spray effects
- Pink marker - Soft pink tones
- Cyan marker - Fresh cyan tones
- Yellow marker - Bright yellow tones
Q2: What do the function buttons at the bottom of Wigglypaint do?
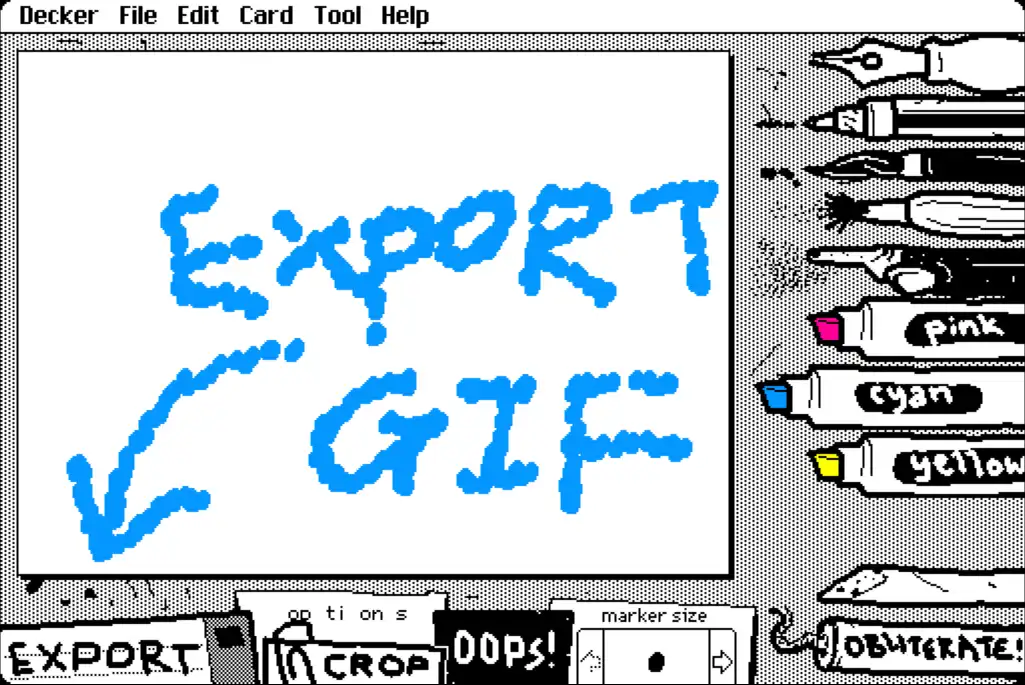
Wigglypaint provides a comprehensive set of tools to enhance your drawing experience. These function buttons are located at the bottom of the Wigglypaint canvas, giving you complete control over your Wigglypaint artwork:

-
Export: Export your Wigglypaint artwork as a GIF, preserving the wiggly line animations that make Wigglypaint creations uniquely captivating.
-
Crop: Adjust the size and composition of your Wigglypaint drawing to perfectly present your creative vision.
-
Options: Customize your Wigglypaint experience by setting drawing backgrounds, choosing preset Wigglypaint palettes, or creating your own custom color schemes.
-
OOPS: Easily undo the last operation or return to the current step in Wigglypaint, letting you create worry-free.
-
Maker size: Fine-tune your Wigglypaint artwork by adjusting brush tip size, creating both bold and delicate details.
-
Eraser: Erase content from the canvas, perfect for adjusting details.
-
OBLITERATE: Clear the entire Wigglypaint canvas with one click to start fresh Wigglypaint creations.
Q3: How to change brush colors?
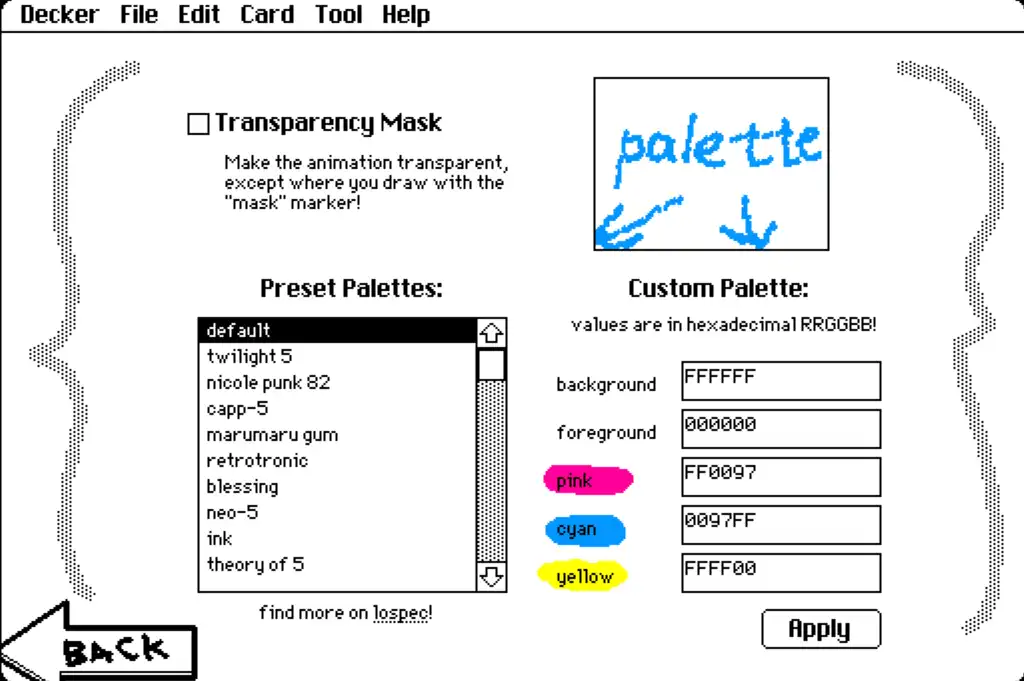
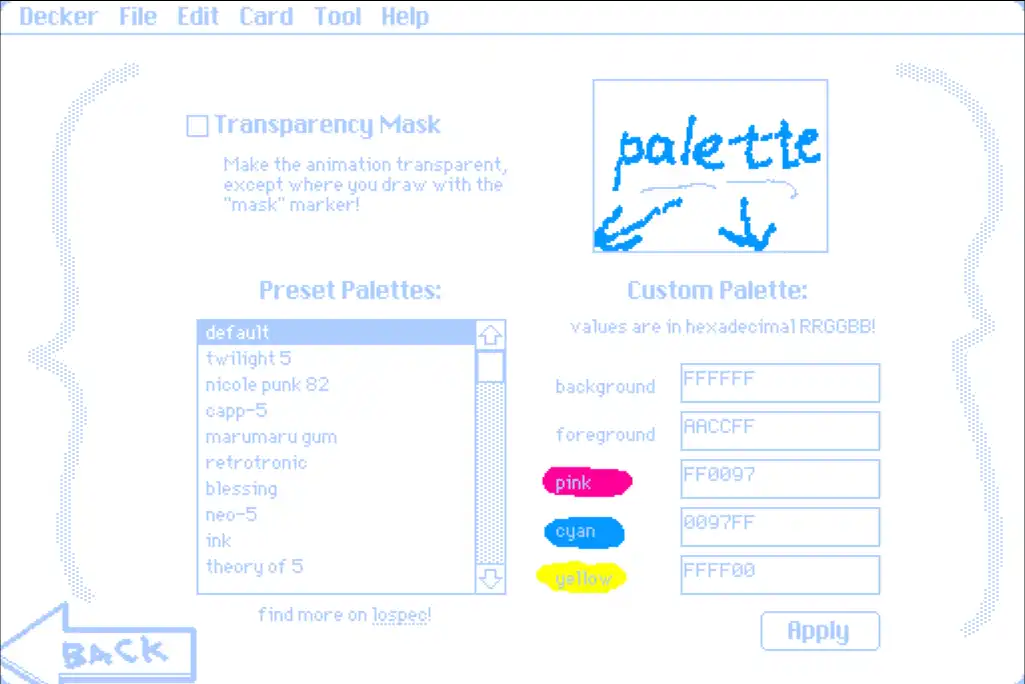
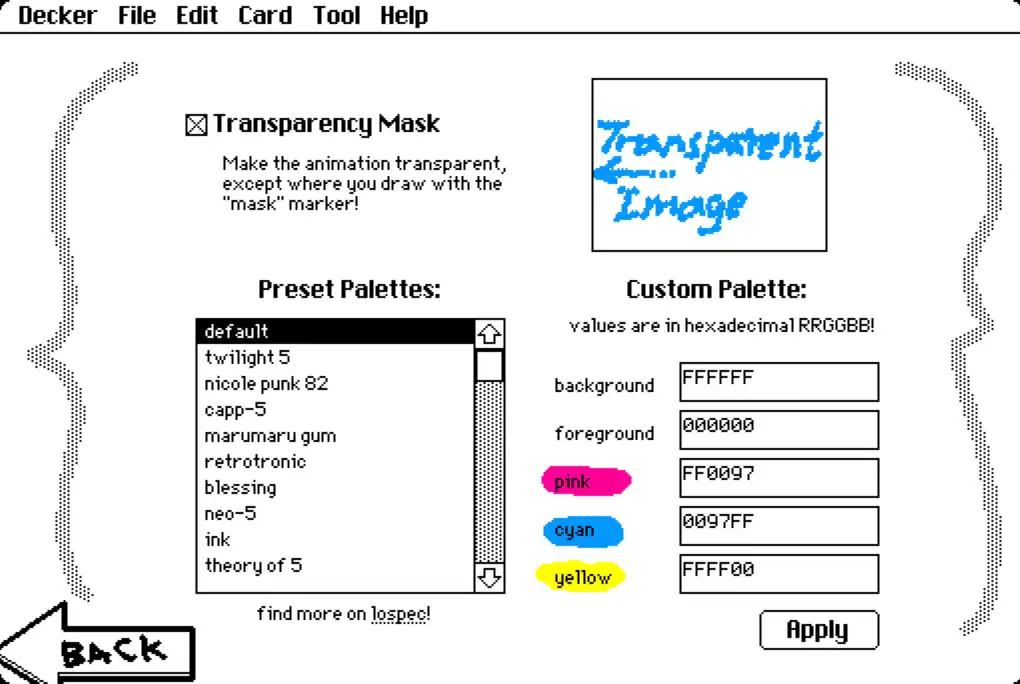
In the function area at the bottom of Wigglypaint, click the "Options" button to enter the settings interface. In "Custom Palette" you can modify the background color and foreground color (which is the brush color), as well as the colors of the three markers. You can also select a preset color scheme in "Preset Palettes". Don't forget to click "Apply" to confirm.
Q4: How to save artwork as GIF animation?
In the function area at the bottom of Wigglypaint, click the "Export" button to export as GIF animation.
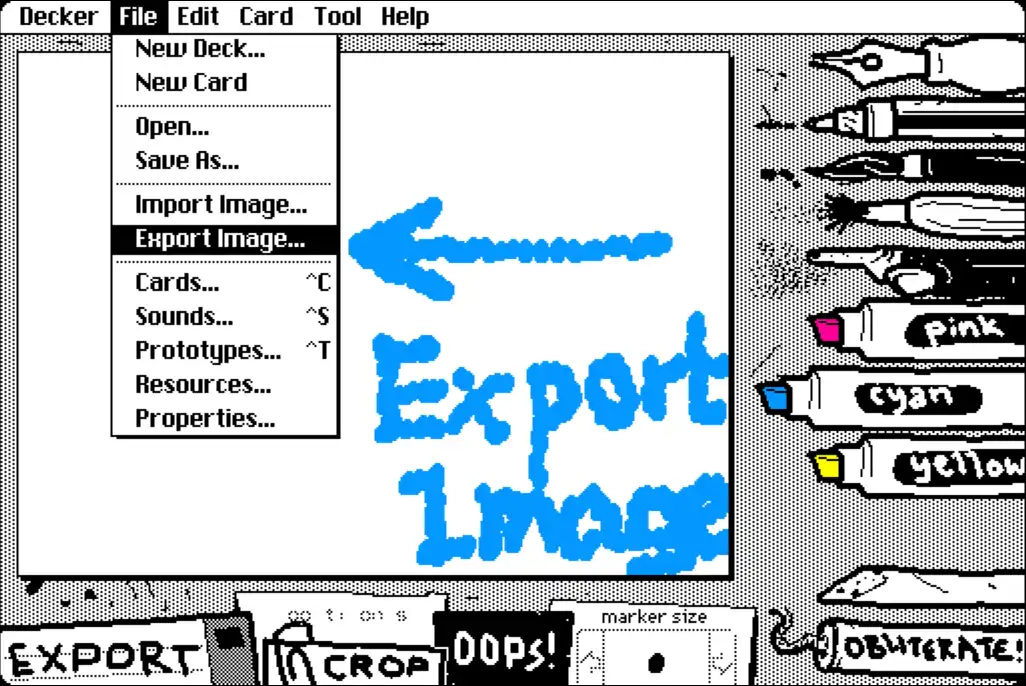
Q5: How to take a screenshot of the Wigglypaint workspace?
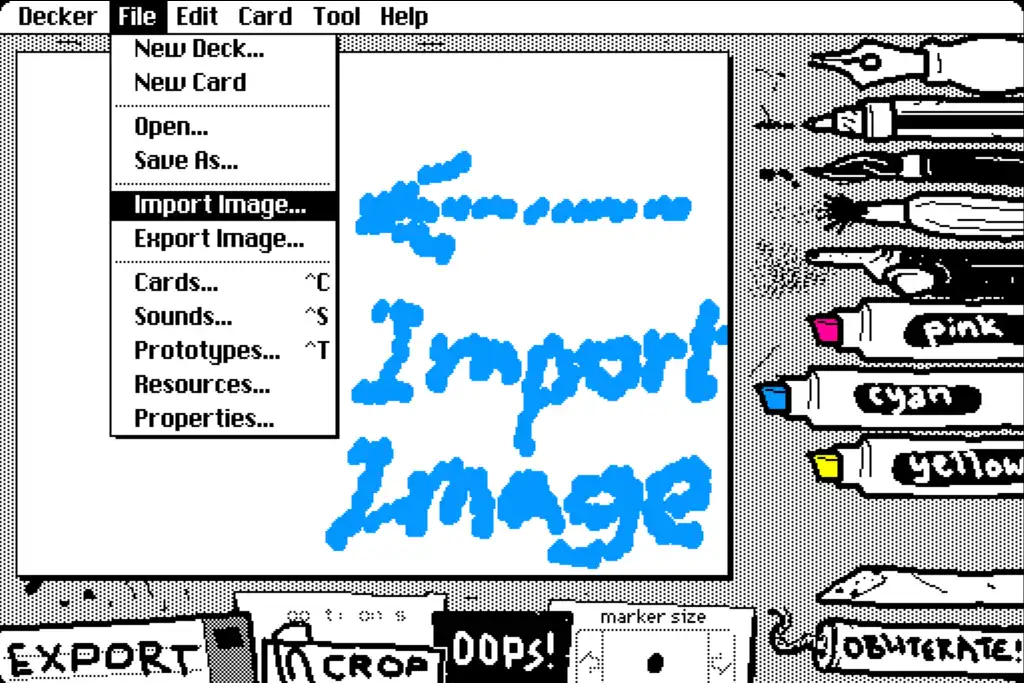
Simply click "Export Image" in the File menu at the top of Wigglypaint to get a complete screenshot of your Wigglypaint drawing and workspace.
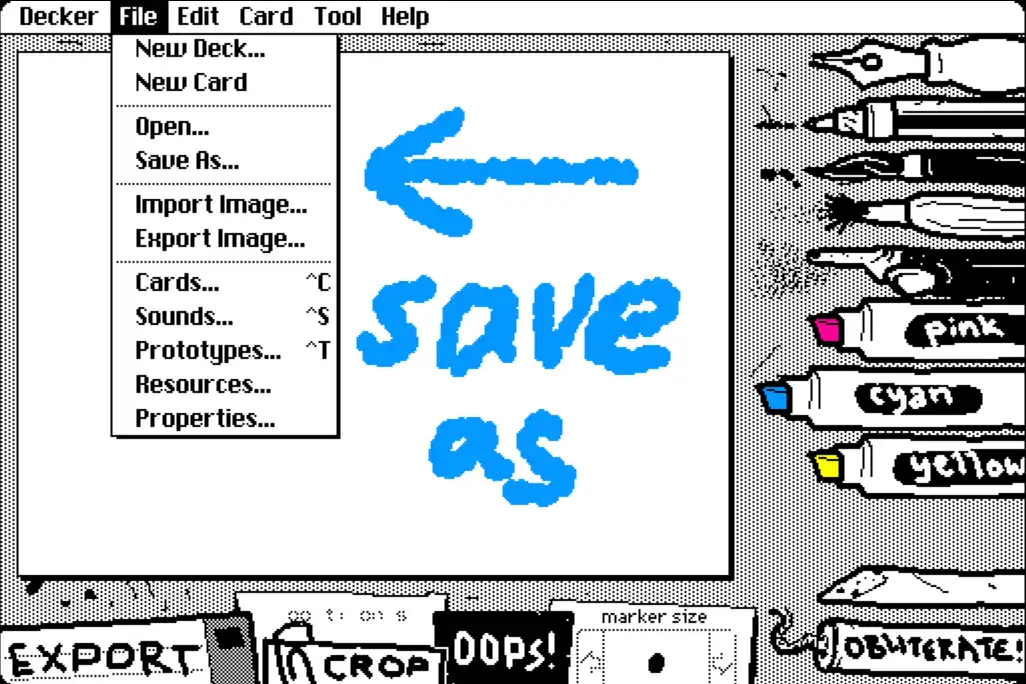
Q6: How to save the source file of your artwork for future editing?
Saving your Wigglypaint creation is simple! Click "save as" in the file menu at the top of Wigglypaint, change the filename and add a .html suffix, then save to your device.

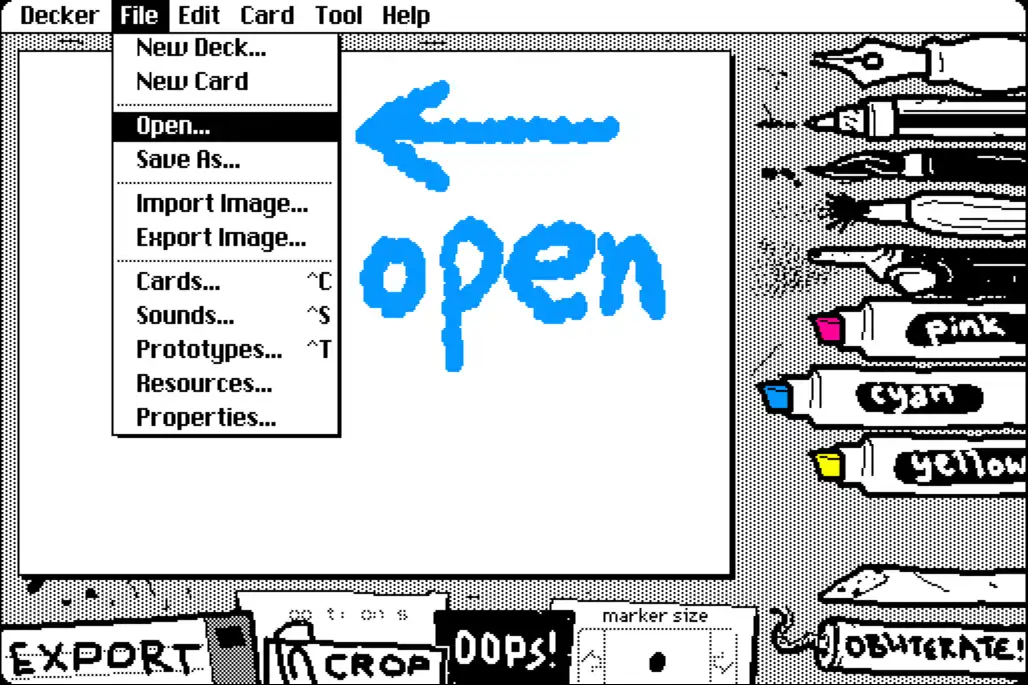
Click "open" in the file menu at the top of Wigglypaint to continue working on your Wigglypaint drawing anytime by opening this saved file.
Q7: How to import images to the canvas?
Click "Import Image" in the file menu at the top of Wigglypaint to import your images into the Wigglypaint canvas for drawing.
Q8: How to export transparent background images?
In the Options settings interface, check "Transparency Mask" to make the image background transparent. Don't forget to click "Apply" to confirm.
Q9: How to adjust image size?
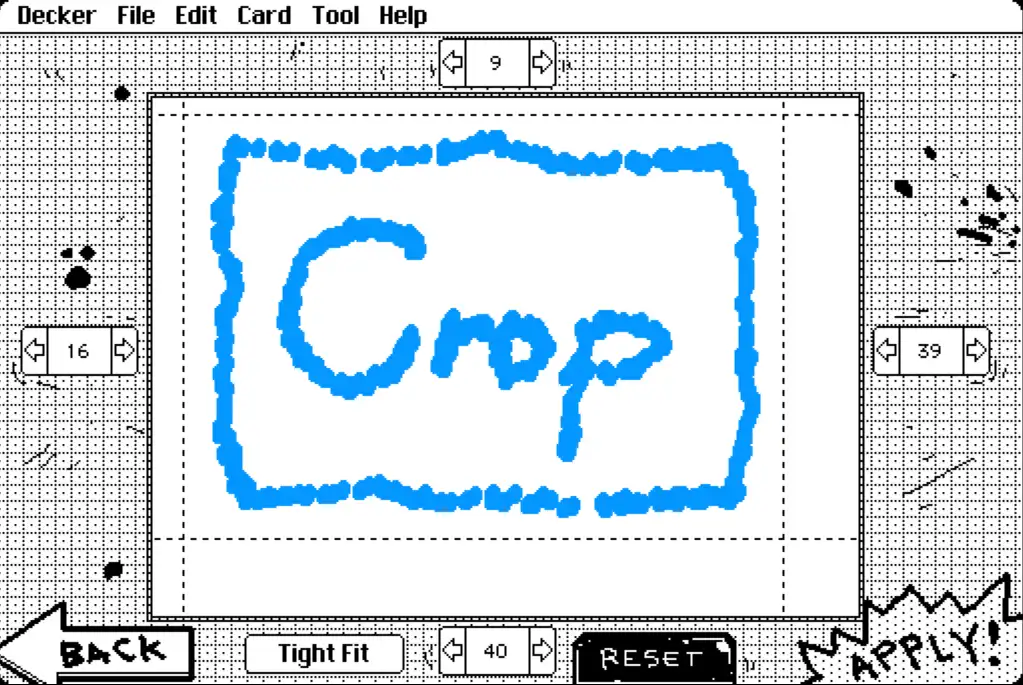
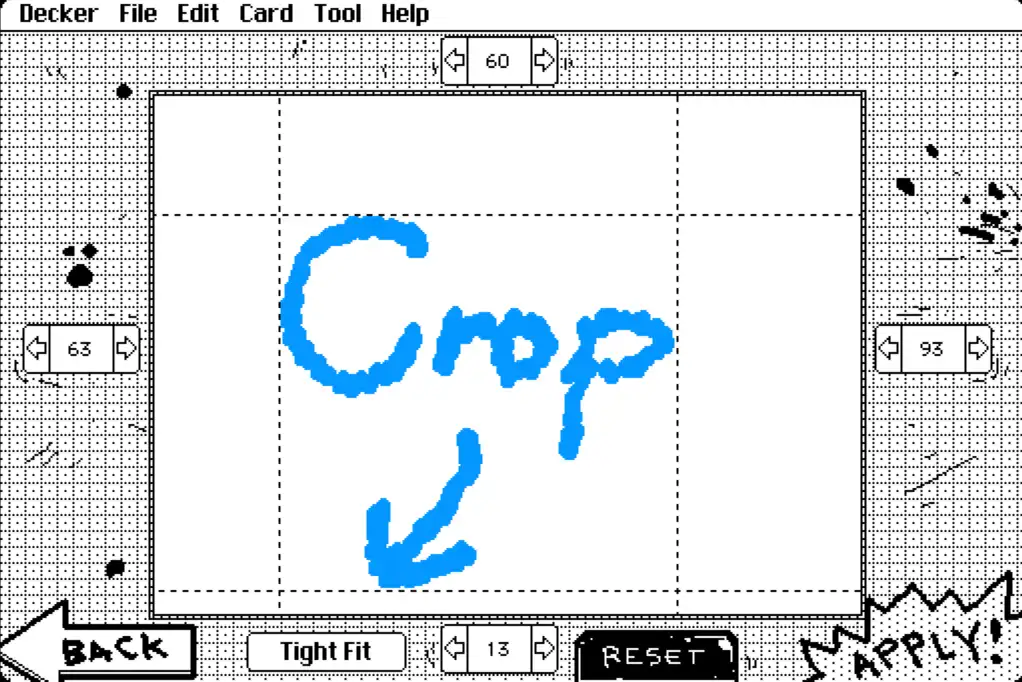
In the function area at the bottom of Wigglypaint, click the "Crop" button to enter the cropping interface, where you can adjust the boundary lines in four directions: top, bottom, left, and right. Don't forget to click "Apply" to confirm.
Q10: How to crop excess white space from images?
In the cropping interface, click "Tight Fit" to automatically detect the edges of your artwork, then click "Apply" to crop the excess parts.
Conclusion
Through the detailed answers to these ten common questions, you should now have mastered the basic usage of Wigglypaint. Whether creating wiggly line artwork, adjusting brush settings, exporting GIF animations, or performing advanced cropping operations, Wigglypaint provides rich and intuitive tools for digital art creators.
What makes Wigglypaint unique is its dynamic wiggly line effects and rich audio feedback, making every creation session enjoyable. Remember to regularly save your artwork source files so you can return anytime to continue perfecting your artistic creations.
Start your Wigglypaint creation journey! Let the lines wiggle freely under your brush and create dynamic artwork that's uniquely yours.